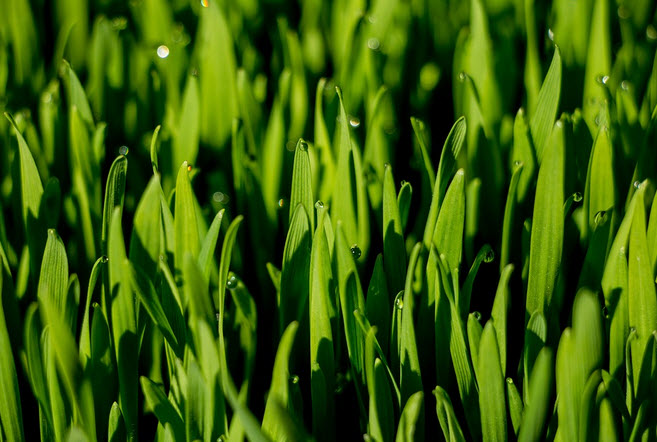
Wheatgrass
When the freshly sprouted first leaves of the common wheat plant (Triticum aestivum) are eaten as food, they are commonly referred to as wheatgrass. Today, both fresh and freeze-dried wheatgrass is available in well-assorted grocery stores and health food shops. Freeze-dried wheatgrass is sold both as a powder and in capsules. Some stores also offer fresh or frozen wheatgrass juice; a liquid extracted from wheatgrass.
Wheatgrass is chiefly consumed for its alleged health-promoting properties. It is a popular addition to green salads, food bowls, smoothies, shakes, freshly made fruit and vegetable juices, and similar.
Like most other sprouts, wheatgrass contains chlorophyll, amino acids, enzymes, minerals and vitamins.
Non-food uses
Due to its alleged health-promoting and restoring properties when consumed as a food, wheatgrass has found its way into many non-food products as well. You can for instance buy skin lotion, massage gel, face creams and facial masks that contain wheatgrass.
Background
Archaeological findings suggest that humans began cultivating wheat in the Fertile Crescent approximately 9600 BCE.
The history of wheatgrass can be traced back to approximately 3000 BCE, when ancient Egyptians acknowledged the wheat sprouts as sacred and filled with properties that promoted health and vitality.
In North America, consuming wheatgrass for its alleged health-promoting properties took off in the 1940s thanks to a series of experiments carried out by Charles Schnabel in the 1930s. In the 1940s, Schnabel’s powdered wheatgrass made its way into many drugstores in the United States and Canada. Charles Schnabel (1895-1974) was an agricultural chemist who studied cereal grass. In the 1920s, he was able to show that feeding small amounts of cereal grass to hens would nearly triple their production of winter eggs.
Growing wheatgrass
Wheatgrass can be quite expensive to buy, but is not very difficult to grow at home.
One commonly used method for indoor cultivation
You need:
- 1 cup of wheat sprouting seeds
- A bowl (for soaking the seeds)
- A mesh to cover the bowl
- Soil, ideally a soil that has been enriched with fertiliser or compost.
- A growing tray, approximately 10 x 10 inches in size. (You can use a plastic food tray from a deli if you make holes in it for draining.)
- A plastic lid (or extra tray) with air holes in it to cover the planting tray with.
Do this:
- Rinse the seeds and remove any debris.
- Place the seeds in the bowl, fill with water and cover with the mesh. Leave to soak for at least six hours.
- Drain as much water as possible out of the bowl. (You might have to use the mesh to help you.)
- Leave the seeds to dry in the bowl for 8-12 hours.
- Rinse the seeds, then drain again and leave them to dry for 8-12 hours. Repeat this process thrice a day until tiny tails begin to emerge. Do not over-sprout, because that would make it more difficult for the wheat to take root in the soil.
- Cover the planting tray with ½ inch layer of soil.
- Gently moisten the soil with water.
- Sprinkle sprouted wheat seeds evenly across the soil. If there are clumps, break them up.
- Sprinkle soil over the sprouted seeds to cover them.
- Place the tray in a spot where the sprouts will receive indirect light. (The temperature should ideally be kept within the range 60-80 degrees F.)
- Cover with the plastic lid to create a sort of greenhouse for your wheatgrass. Make sure there is enough space for the wheatgrass to grow under the lid.
- Water daily, or as needed. The lid will help retain moisture. Watering with a spray bottle is easier than using a can.
- When he wheatgrass is taller than one inch, remove the lid. You might have to increase the watering a tad now, since more moist will evaporate into the air.
- Harvest the wheatgrass when it is 4-6 inches tall. Use a scissor to cut it just above the roots. The younger the grass, the more tender the flavour.
Some growers prefer to only harvest one blade and hope for a second or even third harvest. Leaves from a second and third harvest tend to be more tough and less sweet.